
A step-by-step, newsroom-style guide explaining how beginners can design print-ready custom mugs without formal design training.
Introduction
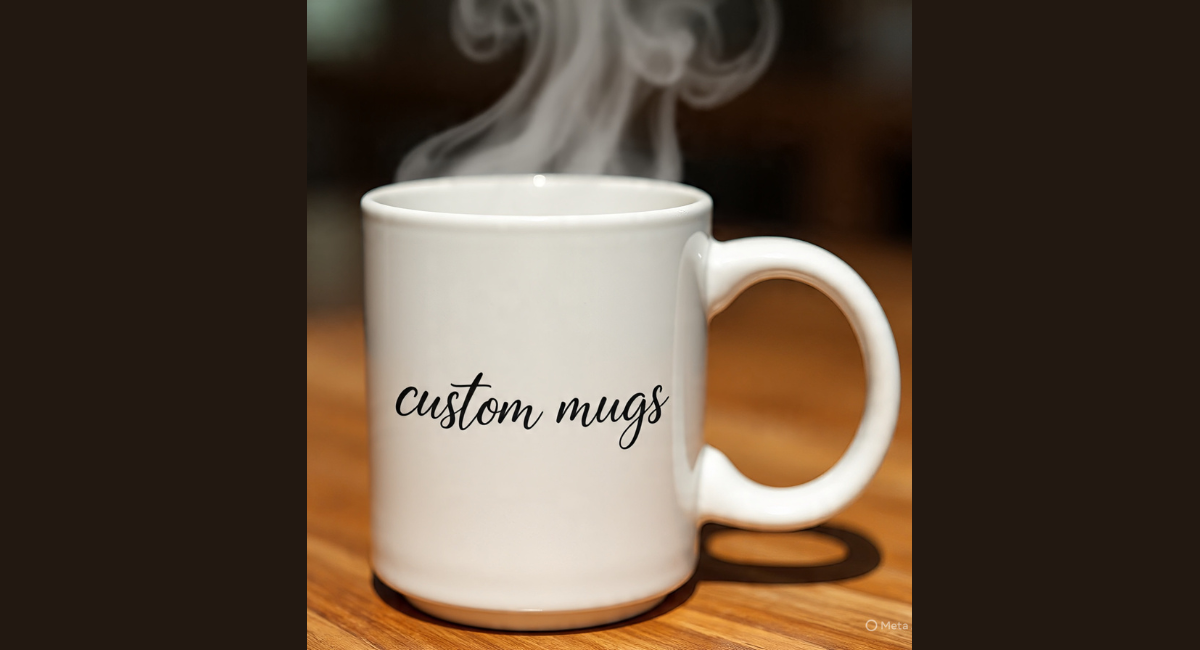
Custom mugs are widely used for team onboarding kits, event giveaways, creator merchandise, and small retail runs. They are compact, practical, and relatively simple to personalize. Yet the process behind a polished result is not always intuitive.
Modern mug printing tools reduce technical barriers by offering preset layouts, drag-and-drop editing, and real-time mockups. Instead of building artwork from scratch in professional design software, users can work inside structured templates that account for wrap areas, bleed, and alignment.
One accessible starting point is the Adobe Express mug designer, which provides preset mug canvases and guided editing controls inside a browser-based workflow. Other tools in this category support complementary steps such as image cleanup, file validation, shipping coordination, or project management.
The sections below outline a complete workflow—from defining the goal to preparing artwork and placing an order—while highlighting practical checkpoints that help prevent common print errors.
If you’re exploring creative print ideas, you can also check out our guide on printable party invitations for more inspiration in designing personalized items.
Step-by-Step Guide for Using Mug Printing Tools
Step 1: Define the Mug’s Purpose and Constraints
Goal
Clarify what the mug is for and what constraints will shape the design.
How to do it
- Identify the audience (internal team, customers, event attendees).
- Decide whether the mug is a one-off gift or part of a batch order.
- Confirm mug type (11 oz ceramic, 15 oz ceramic, enamel, color interior).
- Establish whether the design wraps fully around or sits on one side.
- Set a deadline to determine turnaround flexibility.
What to watch for
- Overloading the mug with too much text.
- Ignoring how curved surfaces affect layout.
- Choosing a wrap layout when only a front-facing design is needed.
- Forgetting that left-handed and right-handed viewers see placement differently.
Tool notes
For organizing multi-person approvals or batch details, a project management tool like Asana can help track version decisions and sign-offs without affecting the design workflow itself.
Step 2: Select a Template and Establish Layout Structure
Goal
Create a balanced layout that works on a curved surface.
How to do it
- Start with a mug-specific template rather than a blank canvas.
- Keep the focal element centered within the visible “safe zone.”
- Use high contrast between background and text.
- Limit font combinations to one headline and one supporting style.
- Leave margin space near handle edges.
What to watch for
- Text drifting too close to the handle.
- Decorative backgrounds overwhelming small typography.
- Ignoring how curvature slightly distorts horizontal elements.
- Using thin fonts that may lose clarity after printing.
Tool notes
If you need quick background removal before placing an image, a standalone cleanup tool such as Remove.bg can prepare transparent images without introducing a competing design platform.
Step 3: Prepare Images at the Correct Resolution
Goal
Ensure images print sharply at mug scale.
How to do it
- Use images at least 1500–2000 pixels wide for wrap designs.
- Avoid screenshots from messaging apps.
- Check that photos are not visibly compressed.
- Adjust brightness slightly upward for ceramic printing.
- Export final artwork in high-resolution PNG or PDF format.
What to watch for
- Pixelation after scaling up.
- Dark photos printing darker than expected.
- Artifacts from low-quality JPEG compression.
- Transparent edges accidentally filled with white.
Tool notes
For deeper image correction without using another design competitor, a photo enhancement service like Fotor can refine brightness and sharpness before re-uploading the image into your mug template.
Step 4: Add Personalization or Variable Text (If Needed)
Goal
Incorporate names, dates, or small text changes efficiently.
How to do it
- Use text placeholders if creating multiple personalized versions.
- Keep personalized text shorter than the main headline.
- Maintain consistent font size across variations.
- Preview each name for spacing and kerning issues.
- Save separate export files clearly labeled per version.
What to watch for
- Long names breaking layout balance.
- Inconsistent capitalization.
- Text shifting outside safe margins.
- Forgetting to update all instances of placeholder text.
Tool notes
If sending proofs for review before final export, a collaboration tool such as Dropbox can simplify file sharing and feedback collection.
Step 5: Review Print-Specific Details Before Export
Goal
Validate technical readiness before placing an order.
How to do it
- Check final canvas size matches mug specifications.
- Confirm important elements are inside the safe area.
- Ensure background extends fully to edges if using bleed.
- Zoom to 100% to inspect sharpness.
- Re-read all visible text carefully.
What to watch for
- Slight cropping near wrap seams.
- Misaligned elements when mirrored.
- Small spelling errors in short slogans.
- Incorrect file format for the printer’s requirements.
Tool notes
For automated proofreading on short taglines, a writing assistant like Grammarly can help catch overlooked typos before export.
Step 6: Place the Order and Coordinate Fulfillment
Goal
Submit the design accurately and prepare for delivery.
How to do it
- Upload the print-ready file in the requested format.
- Double-check quantity and mug type.
- Confirm shipping address and estimated arrival.
- Order a single proof copy for larger batches.
- Save confirmation details and tracking numbers.
What to watch for
- Uploading the wrong version.
- Ordering incorrect quantities.
- Overlooking production lead times.
- Skipping proof review for bulk runs.
Tool notes
For tracking shipments and coordinating delivery logistics, a shipping management platform such as ShipStation can centralize order tracking and reduce administrative errors.
Common Workflow Variations
Photo-Based Gift Mug
Focus on a high-resolution image and minimal text. Keep typography secondary and avoid heavy overlays that obscure faces.
Text-Only Quote Mug
Use strong contrast and generous spacing. Test readability from arm’s length to ensure clarity.
Small-Batch Merch Run
Standardize layout first, then swap variable names or slogans. Maintain consistent export naming conventions.
Event Giveaway
Prioritize bold graphics and short messaging that remains legible in quick-glance contexts.
Checklists
Before You Start Checklist
- ☐ High-resolution image files prepared
- ☐ Confirmed mug size and print dimensions
- ☐ Finalized short headline or message
- ☐ Brand colors defined (if applicable)
- ☐ Clear timeline for production and shipping
- ☐ Decision on wrap vs. front-only design
- ☐ Approval workflow defined for stakeholders
Pre-Export / Pre-Order Checklist
- ☐ Resolution above minimum print requirement
- ☐ Text inside safe margins
- ☐ Spelling and capitalization checked
- ☐ Colors adjusted for print brightness
- ☐ Background bleed accounted for
- ☐ Correct file format selected
- ☐ Preview reviewed at full size
- ☐ Version labeled clearly
Common Issues and Fixes
Blurry images
Usually caused by low-resolution source files. Replace with higher-resolution originals rather than scaling up small images.
Text too close to the handle
Shift layout inward by a small margin. Always preview wrap alignment before exporting.
Colors appear dull in print
Ceramic absorbs ink slightly. Increase brightness and contrast modestly before final export.
Unexpected cropping at the seam
Ensure background artwork extends beyond the visible boundary if the printer requires bleed.
Long names breaking layout
Test the longest expected name first, then adjust font size to accommodate variation.
How to Use Mug Printing Tools: FAQs
Do mug printing tools require professional design experience?
No. Most tools rely on structured templates and guided editing panels that reduce technical setup.
Is it better to start with a template or a blank canvas?
Templates are recommended for beginners because they already account for curvature and print-safe areas.
Should designs be exported in PNG or PDF?
This depends on the printer’s requirements. PNG is common for image-based layouts, while PDF may be preferred for vector-heavy designs.
How can errors be minimized in bulk orders?
Order a proof copy first, review placement and color, then confirm full production.